Inner Package Steps
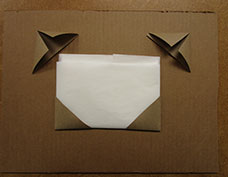
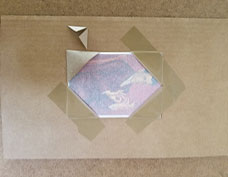
Wrap the item in paper/tissue/plastic. Make corner sleeves out of any type of stable paper (not tissue). Center the item and slide the corner sleeves over the corners of the wrapped item. Leave at least a 2-inch border of cardboard around the secured piece.
Secure the wrapped item to corrugated cardboard or similar rigid material by taping the corner sleeves down. Be cautious not to apply tape to the wrapped item.
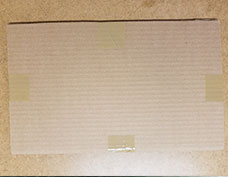
Place a piece of the same size cardboard on top of the piece that the item is secured to. Tape the two pieces of cardboard together.
Outer Package Steps
Lay a piece of hardboard (masonite, plywood, plastic, etc.) on each side of the inner package. A couple of layers of cardboard can replace the hardboard for smaller packages. The purpose of these layers is to prevent bending and puncturing of the item during transit.
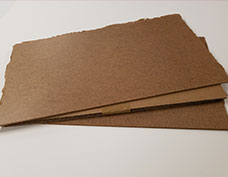
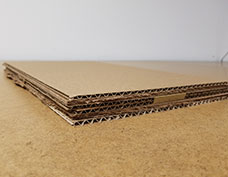
Place another layer of cardboard on each side if you use hardboard (tape and labels don't adhere as well to hardboard). This photo shows the different layers of the package, including the inner package, before taping everything together.
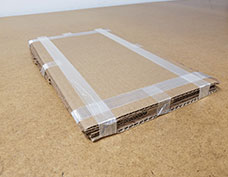
Secure all layers together with filament tape, as shown in the photograph.
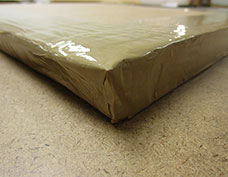
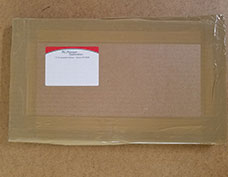
Secure and seal the edges and corners of the package with packaging tape, as shown in the photographs. Ensure that the packaging tape has sealed the edges so moisture and air cannot penetrate.
THIS IS THE COMPLETED PACKAGE.

Have Something in Need of Restoration?
Let us bring your work on paper back to life!
